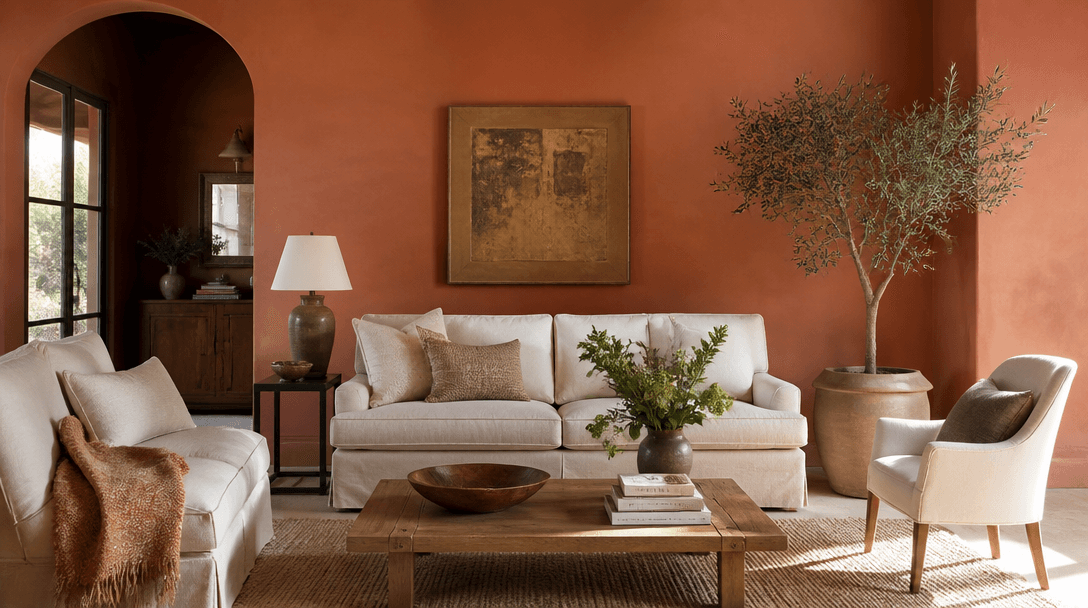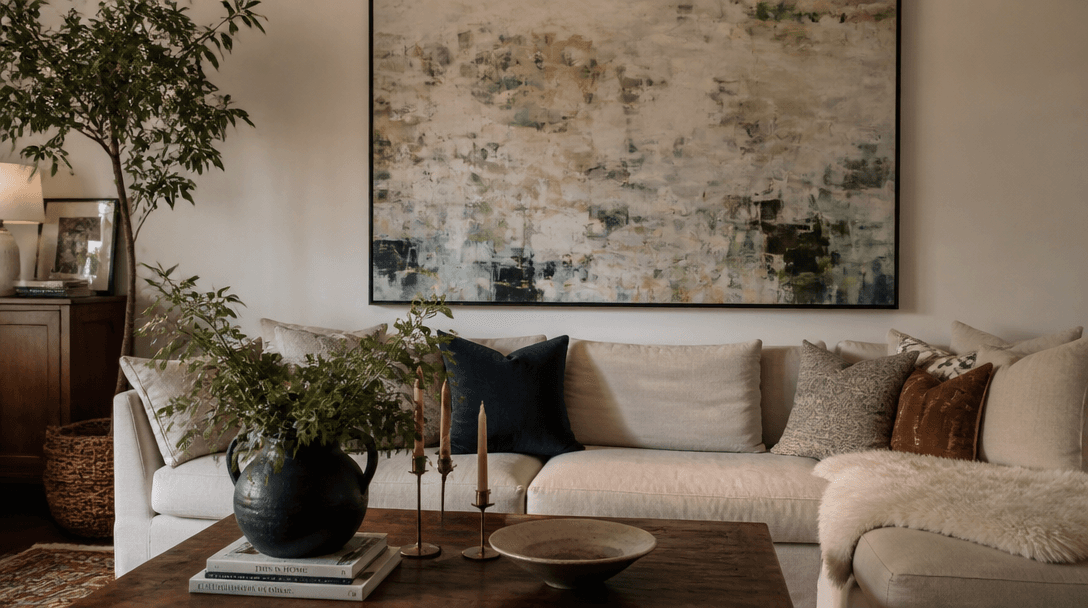
We have all stood in our living rooms, staring at that one massive, blank wall above the sofa or bed, wondering how to fill it. In a typical Indian 2BHK or 3BHK apartment, empty walls can quickly make a space feel cold and unfinished. Yet, when you browse online furniture stores or local decor boutiques, the price tags on framed prints and canvas paintings can easily make you gasp. You are often left with two bad choices: spend a small fortune on a piece you only moderately like, or buy a generic, mass-produced digital print that has no personality.
Fortunately, there is a third option that is incredibly satisfying: making your own wall art. Before you panic and assume you need the artistic skills of a classical painter, let me reassure you that you do not. This guide is specifically designed for people who think they do not have a creative bone in their body. We are looking at stylish, high-impact DIY art ideas that rely on clever textures, smart upcycling, and simple techniques rather than actual drawing skills. Not only will these projects save you thousands of rupees, but they will also give you an immense sense of pride when guests ask where you bought them.
In this guide, we are also addressing the very real practical challenges of decorating an Indian home. From coastal humidity that warps cheap frames to the inescapable city dust that ruins exposed fabrics, we will show you how to build art that lasts. We will talk about budgets in Indian Rupees, materials you can source from your local hardware store, and clever rental-friendly mounting techniques that will keep your security deposit completely safe. Let us roll up our sleeves and transform those blank walls into beautiful, personal focal points.
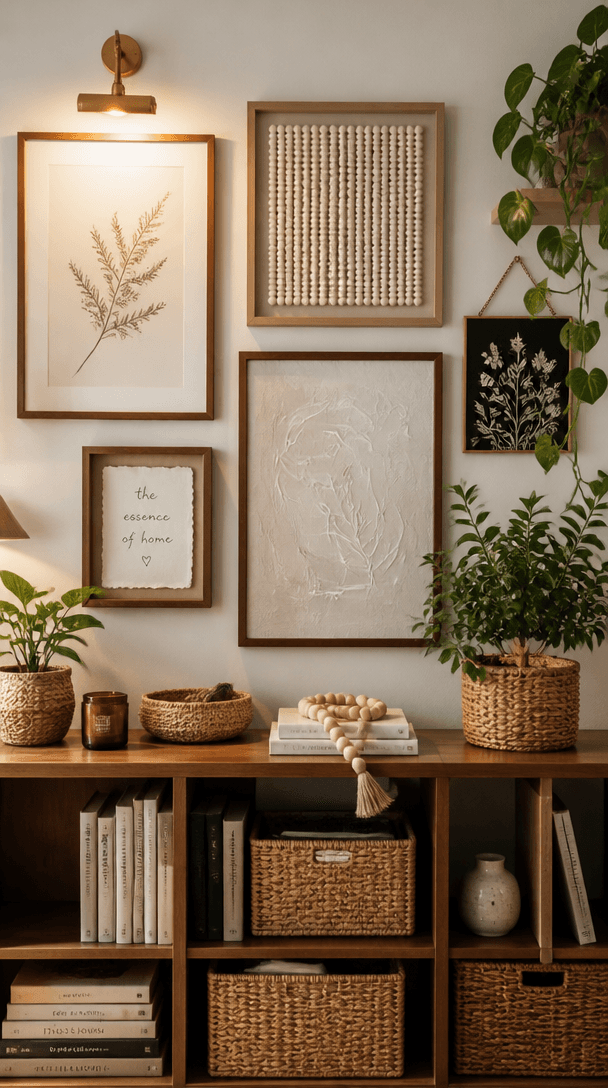
Adapting DIY Wall Art to the Realities of Indian Homes
Before diving into the tutorials, we must address the unique environment of Indian households. Our homes are vibrant, but they come with environmental challenges that standard Western DIY blogs simply ignore. The most prominent challenge is dust. If you live near a busy road in cities like Noida, Bengaluru, or Mumbai, you know that a fine layer of grey dust settles on every surface within a day. This means highly textured canvases or open fabric art can quickly become dirty if they are not sealed or framed correctly. We will teach you how to apply varnishes and choose the right frames to keep your art looking pristine.
The second challenge is climate and humidity. During the heavy Indian monsoon, moisture levels skyrocket. This can warp cheap backing boards, cause paper prints to buckle inside their glass frames, or even lead to mold growth. We will focus on sturdy materials, moisture-resistant backings, and proper sealing techniques to protect your work. Lastly, there is the landlord factor. Most urban renters live under strict rules that forbid drilling into walls. We will suggest lightweight designs that can easily be supported by heavy-duty, damage-free adhesive strips, allowing you to decorate without any stress.
1. The Luxurious Textured Canvas (Using Local Wall Putty)
If you have browsed design blogs or high-end decor accounts on Instagram, you have likely seen those gorgeous, minimalist textured canvases that sell for five thousand to ten thousand rupees. They look modern, organic, and incredibly sophisticated. The secret to making these yourself for under five hundred rupees is a product you can buy at any local hardware store: wall putty. Instead of buying expensive artist modeling paste, a simple two-kilogram bag of Birla White wall putty or a tub of Asian Paints acrylic wall putty will give you the exact same professional texture.
To begin, you will need a blank stretched canvas, which you can easily purchase online or at any local stationer for around two hundred to four hundred rupees, depending on the size. You will also need a simple plastic putty knife, and tools to create patterns. These tools can be items you already have at home, such as a wide-toothed hair comb, a notched kitchen spatula, an old sponge, or even a stiff-bristled cleaning brush. Scoop out a generous amount of wall putty and spread it evenly across the canvas, aiming for a thickness of about half a centimeter.
Now comes the creative part. While the putty is wet, drag your tool of choice across the canvas to create beautiful, deep textures. You can drag a comb in smooth, sweeping arches to create a classic rainbow arch pattern. Alternatively, you can use the flat side of your putty knife to create choppy, desert-dune waves, or pat a dry sponge over the surface to build a rough, stone-like texture. Let the putty dry completely for at least twenty-four hours under a ceiling fan, making sure it is kept away from direct monsoon dampness to prevent any cracking.
Once the canvas is dry, you can leave it in its natural, chalky white state for a clean, minimalist Scandinavian look. However, if you want to add depth, you can paint over it using leftover interior emulsion paint from your last home renovation, such as Asian Paints Royale. Use a soft, dry brush to gently apply earthy tones like terracotta, warm beige, or sage green, allowing the paint to catch the high ridges of the texture while leaving the deep grooves slightly darker. Finally, spray the entire canvas with a clear matte varnish to protect it from dust, allowing you to wipe it clean with a dry microfiber cloth.
2. The Framed Heritage Textile (Upcycling Saree Borders and Dupattas)
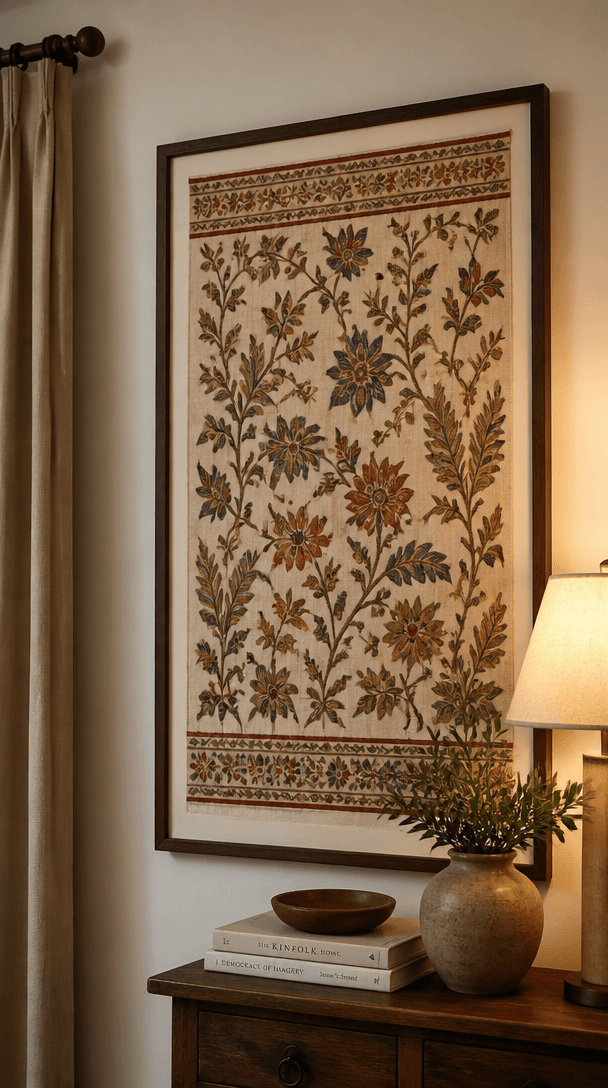
Every Indian home has a treasure trove of beautiful textiles packed away in wardrobes. From moth-damaged Banarasi silk sarees passed down from your grandmother to colorful block-printed cotton dupattas that have lost their matching kurtas, these fabrics contain incredible artistry, rich colors, and warm memories. Instead of keeping them locked away, you can transform these stunning textile fragments into high-end, gallery-worthy wall art. This is a brilliant way to bring traditional Indian heritage into a modern 2BHK without making the space look cluttered or dated.
To create this, buy a simple, clean-profile wooden or synthetic frame from a local frame shop or online. Synthetic frames with an acrylic front are excellent because they are lightweight and resistant to humidity-induced warping. Cut a piece of your chosen fabric that is about two inches larger than the frame backing board on all sides. When choosing your section of fabric, look for areas with detailed detailing, such as the elaborate zari border of a silk saree, or a beautifully centered floral motif of an old Kalamkari or Ajrakh print.
Lay your fabric flat over the backing board, pulling it gently but firmly to ensure there are no wrinkles or saggy areas. Secure the fabric to the back of the card using strong double-sided tape, hot glue, or a heavy-duty stapler. Place the board back into the frame and close it tightly. The frame glass will press the fabric completely flat, protecting it from kitchen grease, city dust, and direct sunlight. To create a premium gallery look, frame three different fabrics in identical frames and hang them side-by-side as a beautiful triptych over your dining table.
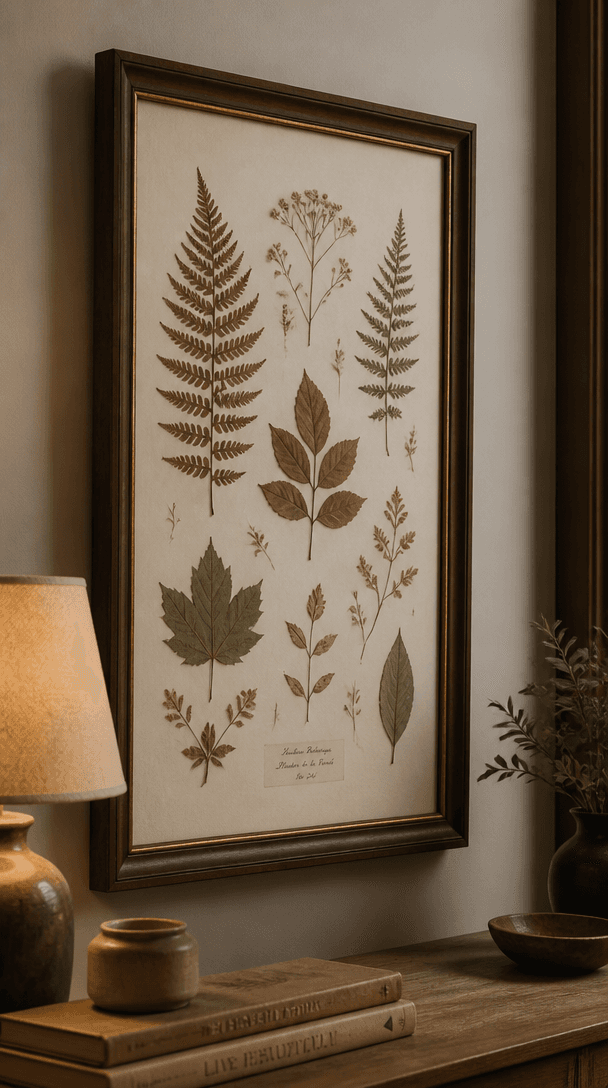
3. Minimalist Botanical Pressings on Handmade Khadi Paper
Bringing a touch of nature indoors is a wonderful way to soften the hard lines of modern apartments. However, keeping delicate houseplants alive in hot, dusty climates can be a struggle. Pressed botanical art is a timeless, elegant alternative that works beautifully in any bedroom or study room. Instead of spending thousands on ready-made botanical frames, you can forage for beautiful leaves and flowers right in your neighborhood park or your own balcony garden for absolutely free.
Look for leaves with strong, architectural shapes that will look striking when flattened. Ferns, monstera leaves, gulmohar fronds, or even vibrant bougainvillea petals work beautifully. Avoid thick, fleshy succulent leaves, as they contain too much moisture and will rot instead of drying. Place your collected leaves between two sheets of clean newspaper or blotting paper, and tuck them deep inside a heavy book. Stack a few heavy items on top, such as storage boxes or bricks, and leave them undisturbed for about ten to fourteen days until they are completely dry and flat.
To frame your dried botanicals, purchase a floating glass frame, where the artwork is sandwiched between two panes of glass, making it look as if the leaf is floating on your wall. If you are on a budget, you can use a standard frame with a backing of textured, handmade Khadi paper. Apply a tiny dot of clear craft glue to the back of the leaf and press it gently onto the paper. A neat grid of four small botanical frames arranged above a writing desk or console table creates a calm, soothing focal point that brings the outdoors in.
4. Bold Abstract Stamp Art Using Everyday Household Items
You do not need to be an expert illustrator or painter to create striking abstract art. Hand-stamped block print art is highly forgiving, beautifully raw, and has an organic, handmade quality that digital prints can never replicate. This project is incredibly inexpensive and highly customizable to match the color palette of your room. You can easily make your own custom geometric stamps using simple items from around your home, such as thick corrugated cardboard shipping boxes, scrap wooden blocks, or even a large raw potato.
To make a stamp, cut a simple geometric shape, like a semi-circle, a crescent, a triangle, or a clean arch, out of a piece of scrap cardboard. Cut three or four identical shapes and glue them directly on top of each other to create a thick, raised stamp with plenty of depth. For paint, you can use budget-friendly acrylic paints or leftover wall emulsion. Pour a small amount of paint onto a flat plate, press your homemade stamp into it, and test it on a scrap piece of paper first to make sure the paint is spreading evenly.
For your final piece, use high-quality, thick paper like textured watercolor paper or handmade paper, which has beautiful deckled edges. Stamp your shapes in an overlapping, modern layout, or keep it clean and minimal with just two or three large shapes in contrasting tones. Combining earthy Indian colors like warm rust orange, deep mustard yellow, and charcoal black creates an incredibly stylish, contemporary look. Once the paint is completely dry, frame your artwork in a sleek black frame with a wide white mount board to instantly give it a high-end, designer finish.
Smart Hanging Solutions and Long-Term Maintenance
Now that you have completed your beautiful new DIY art, the final step is hanging them up safely. In many Indian apartments, dealing with hard concrete walls can make drilling a major chore. For our lightweight projects, like the textile frames, pressed botanical paper, or block-printed art, you can skip the drill entirely. Heavy-duty adhesive hanging strips are incredibly robust. They can easily support frames weighing up to three kilograms. Just remember to clean your painted wall with a dry cloth first to remove any fine dust, which ensures the adhesive bonds perfectly.
For heavier pieces, like the textured wall putty canvas, it is much safer to use standard metal hooks and plastic wall plugs. If you are renting, speak to your landlord beforehand. Most are happy to let you drill as long as you fill the holes with a little bit of putty and touch them up with matching paint when you move out. Remember to hang your art at eye level, which is generally around fifty-seven inches from the floor to the center of the frame, to keep your room layout looking balanced.
To keep your handmade masterpieces looking fresh against our dusty climate, make maintenance a part of your weekly cleaning routine. Never use a wet cloth on unvarnished putty canvases or open paper art. Instead, use a soft, dry feather duster or a clean microfiber cloth to gently sweep away dust. For framed art, a quick wipe with a glass cleaner will keep them sparkling. By taking these simple steps to protect and care for your creations, your beautiful, budget-friendly DIY wall art will continue to bring personality and warmth to your home for many years to come.